

| Warning light colours | Red (urgent), Amber (service soon), Green/Blue (informational) |
| Most common amber light | Check Engine / Engine Management Light |
| Flashing vs. steady check engine | Flashing = active fault, act promptly; Steady = schedule service |
| Tire pressure reference location | Driver's door jamb sticker (not tire sidewall) |
| Diagnostic scan cost | Often free at many auto parts stores and workshops |
| Owner's manual use | Primary reference for your vehicle's specific warning icons |
How the Warning Light System Works
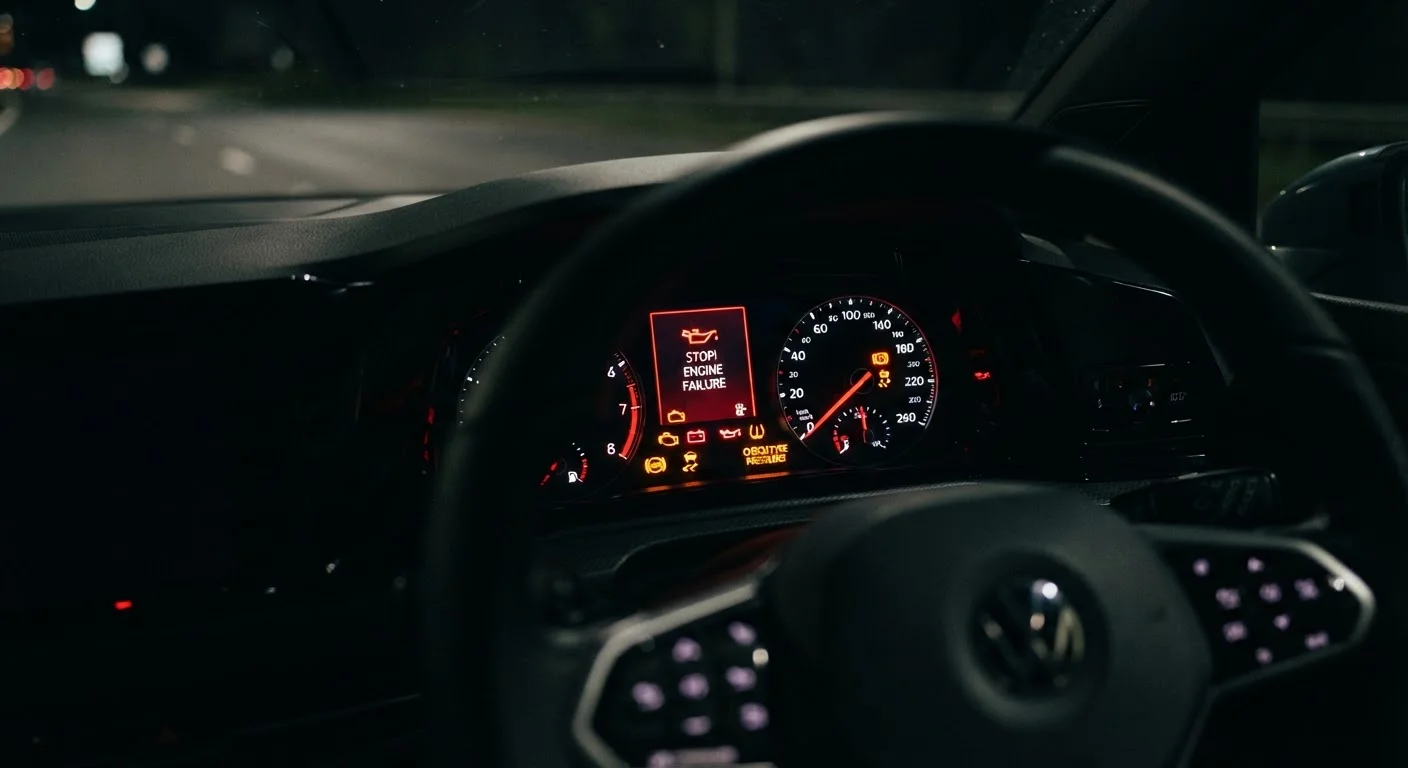
Modern vehicles use an OBD system to continuously monitor dozens of sensors across the engine, transmission, brakes, and emissions systems. When a sensor reading falls outside its expected range, the system triggers a warning light on your instrument cluster. Think of these lights as your car's way of filing a report — they don't always mean immediate danger, but they always mean something needs attention.
Warning lights generally fall into three urgency tiers:
- Red: Stop or act immediately. Continuing to drive risks serious damage or a safety hazard.
- Amber/Yellow: Service required soon. The vehicle is likely still safe to drive short distances, but the issue shouldn't be ignored for long.
- Green/Blue: Informational. A system is active, not malfunctioning (e.g., high beams, cruise control).
Always consult your owner's manual for the exact symbols and colour coding used in your specific vehicle — manufacturers occasionally vary iconography.
| Warning light colours | Red (urgent), Amber (service soon), Green/Blue (informational) |
| Most common amber light | Check Engine / Engine Management Light |
| Flashing vs. steady check engine | Flashing = active fault, act promptly; Steady = schedule service |
| Tire pressure reference location | Driver's door jamb sticker (not tire sidewall) |
| Diagnostic scan cost | Often free at many auto parts stores and workshops |
| Owner's manual use | Primary reference for your vehicle's specific warning icons |
High-Priority Red Lights: Stop and Act
The following lights signal conditions that can cause rapid, serious damage or compromise your safety. Pull over safely as soon as possible if these appear while driving.
Engine Temperature Warning
A thermometer icon over wavy lines indicates your engine is overheating. This can stem from a coolant leak, a failed thermostat, or a malfunctioning cooling fan. Continuing to drive risks a warped cylinder head or seized engine. Turn off the engine and wait for it to cool — never open the radiator cap while the engine is hot. See our guide to coolant and fluid checks for background on what keeps your cooling system healthy.
Oil Pressure Warning
An oil can icon (not a dripping drop — that's the oil level indicator on some vehicles) means oil pressure has dropped critically low. This is one of the most urgent red lights. Low pressure means engine components are not being lubricated, and metal-on-metal contact can cause irreparable damage within minutes. Stop the engine immediately and check the oil level with the dipstick once it has cooled slightly.
Battery / Charging System
A battery symbol indicates the charging system isn't maintaining voltage — typically a failing alternator or a loose/corroded connection. The vehicle may continue running on battery reserve for a short time, but electrical systems will begin failing. Reduce electrical load and head to a workshop. Our article on car battery health and decline explains the early warning patterns to watch for.
Brake System Warning
A circle with an exclamation mark, or the word BRAKE, appearing in red (not amber) can indicate low brake fluid, a hydraulic fault, or brake failure. Check whether the parking brake is disengaged first. If it is and the light stays on, treat it as urgent. For a deeper look at brake components, see brake wear and when it needs attention.
Amber Lights: Service Soon, Don't Delay
Amber lights indicate developing issues that won't necessarily leave you stranded today but will worsen — and cost more — if left unaddressed.
Check Engine / Engine Management Light
The outline of an engine block is one of the most misunderstood lights on any dashboard. It can signal anything from a loose fuel cap to a failing catalytic converter. A steady amber light typically means schedule a diagnostic scan soon. A flashing check engine light is more urgent — it often indicates an active misfire that can damage the catalytic converter; reduce speed and load, and have it checked promptly. A diagnostic code reader (available at most auto parts stores) can retrieve the stored fault codes.
Tire Pressure Monitoring System (TPMS)
A cross-section of a tire with an exclamation mark means one or more tires is significantly under-inflated. Under-inflation increases blowout risk and reduces fuel efficiency. Check all four tires with a pressure gauge and inflate to the level specified on the door jamb sticker — not the maximum figure printed on the tire sidewall.
Traction Control / Stability Control
A car with wavy lines beneath it, flashing, usually means the system is actively intervening — normal on slippery roads. If it stays on steadily, the system may be disabled or has a fault. Both traction control (TCS) and electronic stability control (ESC) are critical active safety systems; a fault warrants a workshop visit.
ABS Warning
The letters ABS in a circle indicate a fault in the anti-lock braking system. Your standard brakes still function, but the ABS — which prevents wheel lock-up during hard stops — may not activate correctly in an emergency. Have this diagnosed before your next long trip. For pre-journey preparation, see our safety readiness checklist.
OBD (On-Board Diagnostics)
A standardised system built into vehicles that monitors engine and emissions performance via sensors. When a fault is detected, the system stores a fault code and triggers a dashboard warning light.
Fault Code (DTC)
A Diagnostic Trouble Code stored by the OBD system when a sensor reading falls outside acceptable parameters. A code reader or scan tool retrieves these codes to help identify the source of a warning light.
TPMS
Tire Pressure Monitoring System — sensors fitted to each wheel that alert the driver when tire pressure drops significantly below the recommended level.
ESC (Electronic Stability Control)
An active safety system that detects and reduces loss of traction or skidding by selectively applying brakes to individual wheels and, on some vehicles, reducing engine power.
ABS (Anti-Lock Braking System)
A braking safety system that prevents wheels from locking up during hard braking, allowing the driver to maintain steering control. A fault in ABS does not eliminate braking ability but removes this protective function.
Catalytic Converter
An emissions control device in the exhaust system that converts harmful combustion byproducts into less harmful gases. It can be damaged by unburned fuel caused by engine misfires.
What to Do When a Warning Light Appears
A structured response reduces the chance of making a minor issue worse:
- Identify the colour and symbol. Red means consider stopping soon; flashing means act now.
- Check for accompanying symptoms. Unusual smells, sounds, or handling changes narrow down the cause significantly.
- Consult the owner's manual. Your manual has the definitive key for your vehicle's specific icons.
- Don't ignore it and don't panic. Most amber lights allow time to reach a workshop safely. Most red lights require prompt — but calm — action.
- Get a diagnostic scan. Many workshops scan fault codes for free; this step replaces guesswork with data.
Staying prepared on the road matters beyond mechanical readiness. Driver fatigue is another often-overlooked hazard that can impair your response when something does go wrong.
This article is for general informational purposes only. Always consult a qualified mechanic for diagnosis and repair of any vehicle fault.