

Key Takeaways
- Checking your car's fluids regularly helps catch problems before they become expensive repairs.
- Most fluid checks can be done at home with no special tools in under 30 minutes.
- Color and smell changes in fluids are early warning signs worth taking seriously.
- Brake fluid is safety-critical — low or contaminated fluid warrants prompt professional attention.
- Your owner's manual contains the manufacturer's recommended check and replacement intervals.
What you will need
Why Fluids Matter More Than Most Drivers Realize
Your vehicle relies on several distinct fluids to operate safely — each one serving a different system, and each one capable of causing significant damage if neglected. Coolant keeps the engine from overheating. Brake fluid transmits the force you apply to the pedal into stopping power at each wheel. Power steering fluid (in vehicles that use it) assists steering effort. None of these systems announce problems early with obvious symptoms, which is why periodic visual checks are genuinely useful rather than just checkbox maintenance.
The good news is that checking most fluids requires no tools, no mechanical skill, and less time than a coffee run. What it does require is knowing where to look and what normal versus abnormal looks like. This guide walks through each fluid in order of safety significance, so you can build a reliable routine. For a broader picture of keeping your vehicle in good shape over time, see our long-term maintenance guide.
What you will need
How to Check Each Fluid: Step-by-Step
Before you begin, park on level ground, allow the engine to cool completely, and gather your materials. The steps below cover the most commonly checked fluids in a typical passenger vehicle.
Clean lint-free rags
Used to wipe dipsticks clean before re-inserting for an accurate reading.
Flashlight or phone torch
Improves visibility inside the engine bay, especially around dark-colored reservoirs.
Nitrile gloves
Protects your hands from brake fluid and coolant, both of which can irritate skin.
Owner's manual
Identifies exact reservoir locations and manufacturer-specified fluid types for your vehicle.
Prepare your vehicle and gather your materials
Park on a level surface and turn off the engine. Give the car at least 30 minutes to cool before opening anything under the hood. Gather your rags, flashlight, gloves, and owner's manual. A level surface matters because fluid levels in reservoirs and on dipsticks are only accurate when the car is not tilted.
Check the engine coolant level and condition
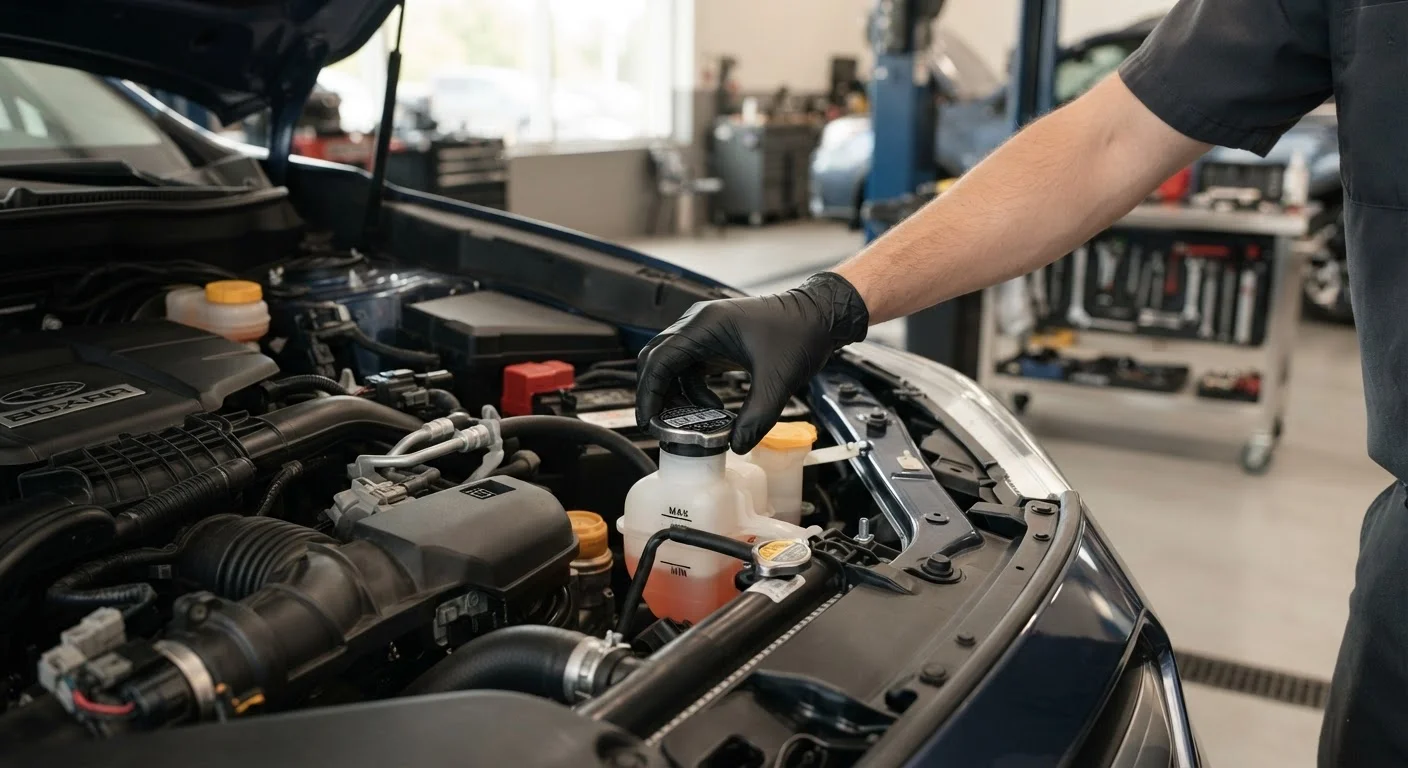
Locate the translucent coolant reservoir — it is typically a plastic tank connected to the radiator by a hose. You should be able to read the MIN and MAX markings from the outside without removing the cap. The coolant level should sit between those marks. Note the color: fresh coolant is typically bright green, orange, or pink depending on type. Murky, rust-colored, or oily-looking coolant suggests contamination and warrants a mechanic's inspection.
Check the brake fluid reservoir
The brake fluid reservoir is a small, usually semi-transparent plastic container mounted on top of the brake master cylinder, typically near the back of the engine bay on the driver's side. Like coolant, you can usually read the level through the side of the reservoir without opening it — look for MIN and MAX lines. Healthy brake fluid is pale yellow and nearly clear. Dark brown or black fluid has absorbed moisture over time and may need flushing by a professional. If the level is at or below MIN, have the system inspected promptly. A low level can indicate a leak or significant pad wear — see our guide to brake wear for context on how brake components affect fluid levels.
Check the power steering fluid (if applicable)
Many newer vehicles use electric power steering and have no fluid to check. If your car has hydraulic power steering, locate the reservoir — usually labeled with a steering wheel icon. Check the level using either the side markings or the attached dipstick. Low power steering fluid often causes a whining noise during turns. Milky or foamy fluid suggests water contamination, which requires professional attention.
Check windshield washer fluid
Washer fluid is the simplest check: open the reservoir (usually marked with a windshield and spray icon) and visually confirm it is not empty. Unlike other fluids, washer fluid running dry poses no mechanical risk — but clear visibility is a safety factor. Use a washer fluid formulated for your climate; plain water can freeze in cold temperatures and may leave mineral deposits. Weather-specific fluid considerations are also covered in our seasonal car maintenance guide.
Record your findings and plan any follow-up
After completing your checks, note the date, mileage, and any observations — such as a fluid that looked discolored or a level that was below the MIN mark. Cross-reference your owner's manual to confirm whether any fluids are approaching a manufacturer-recommended change interval. If you noticed anything concerning during any of the checks above, schedule a mechanic appointment rather than waiting for a dashboard warning. Our dashboard warning lights guide can help you understand any related indicator lights that appear in the meantime.
Brake Fluid Is a Safety-Critical System
Brake fluid that is low, contaminated, or moisture-saturated can compromise stopping power. If you notice a spongy brake pedal, a drop in fluid level, or fluid that is very dark in color, have a qualified mechanic inspect the brake system before driving further. Do not attempt to diagnose or repair brake hydraulics without professional training.
Make a Monthly Under-Hood Habit
The easiest way to stay on top of fluid health is to build a quick under-hood check into a recurring calendar reminder — such as the first Saturday of each month. Pair it with a look at your tyre pressure (see our tyre pressure and tread depth guide) to make the most of a few minutes.
When Fluid Checks Signal a Bigger Problem
Routine checks are most valuable when they surface an issue before any warning light appears. A few patterns are worth understanding:
- Rapidly dropping levels in any reservoir — without a corresponding explanation like a recent top-off — suggest a leak somewhere in that system. Leaks should be diagnosed by a mechanic rather than managed with repeated top-offs.
- Unusual odors can be telling: sweet-smelling fluid under the hood often indicates coolant, while a sharp chemical smell from the brake area deserves prompt attention.
- Contaminated fluid — milky, foamy, or heavily darkened — typically means two fluids have mixed, or the fluid has degraded past its useful life. Either situation warrants professional assessment.
If you notice any of these warning signs, resist the temptation to simply top up and carry on. Tracking down the source of the problem is the more cost-effective path. And if a warning light does illuminate after your checks, our dashboard warning lights reference can help you interpret what your car is telling you.
Never Open the Coolant Cap on a Hot Engine
Coolant systems are pressurized. Opening the radiator cap or coolant reservoir cap while the engine is warm can cause scalding fluid to spray out. Always let the engine cool completely — at least 30 minutes after shutting off — before removing any coolant cap.