

Key Takeaways
- Tyre pressure and tread depth are among the most critical pre-trip checks — never skip them.
- Fluid levels including coolant, oil, and brake fluid should be verified before any extended drive.
- All exterior lights must be functional — burned-out bulbs are a safety hazard and a legal issue.
- Route planning, emergency kit readiness, and driver fatigue awareness matter as much as mechanical checks.
- Dashboard warning lights should be investigated and resolved before departure, not ignored.
Summary
22 items · 20–45 minutes
Why a Pre-Trip Check Matters More Than Most Drivers Realize
Most vehicle breakdowns are not random events — they're preventable failures that were preceded by visible warning signs. A flat tyre that strands you on a highway was often a slowly deflating tyre the morning before. An overheating engine on an August interstate was frequently a coolant level that had been low for weeks. The purpose of a structured pre-trip inspection is to surface those signals before you're 200 miles from home.
This checklist is designed for any road trip over roughly two hours. It's organized into six categories — tyres, fluids, lights and visibility, brakes and mechanical condition, emergency preparedness, and driver readiness — because a safe journey depends on all of them together, not just the mechanical side of the vehicle.
For an in-depth look at what your tyres are actually telling you, including how to read sidewall codes and what uneven wear patterns mean, see our companion article on tyre pressure and tread depth checks. If you're a newer driver building a routine, car maintenance habits for new drivers offers a grounded starting point.
Dashboard warning lights demand attention before departure
An illuminated warning light — particularly for engine, oil pressure, battery, or brake systems — should never be dismissed as a quirk. These lights signal that a control module has detected a fault. Driving several hundred miles with an unresolved fault can escalate a minor issue into a serious mechanical failure or safety incident. If you're unsure what a warning symbol means, consult your owner's manual or see our guide to dashboard warning lights before assuming it's safe to proceed.
What to Inspect and What Tools You'll Need
You don't need a workshop or professional training to work through this checklist. Most items require only basic tools and about 20–30 minutes of unhurried attention before you load the car. The tool list below outlines what to have on hand before you start.
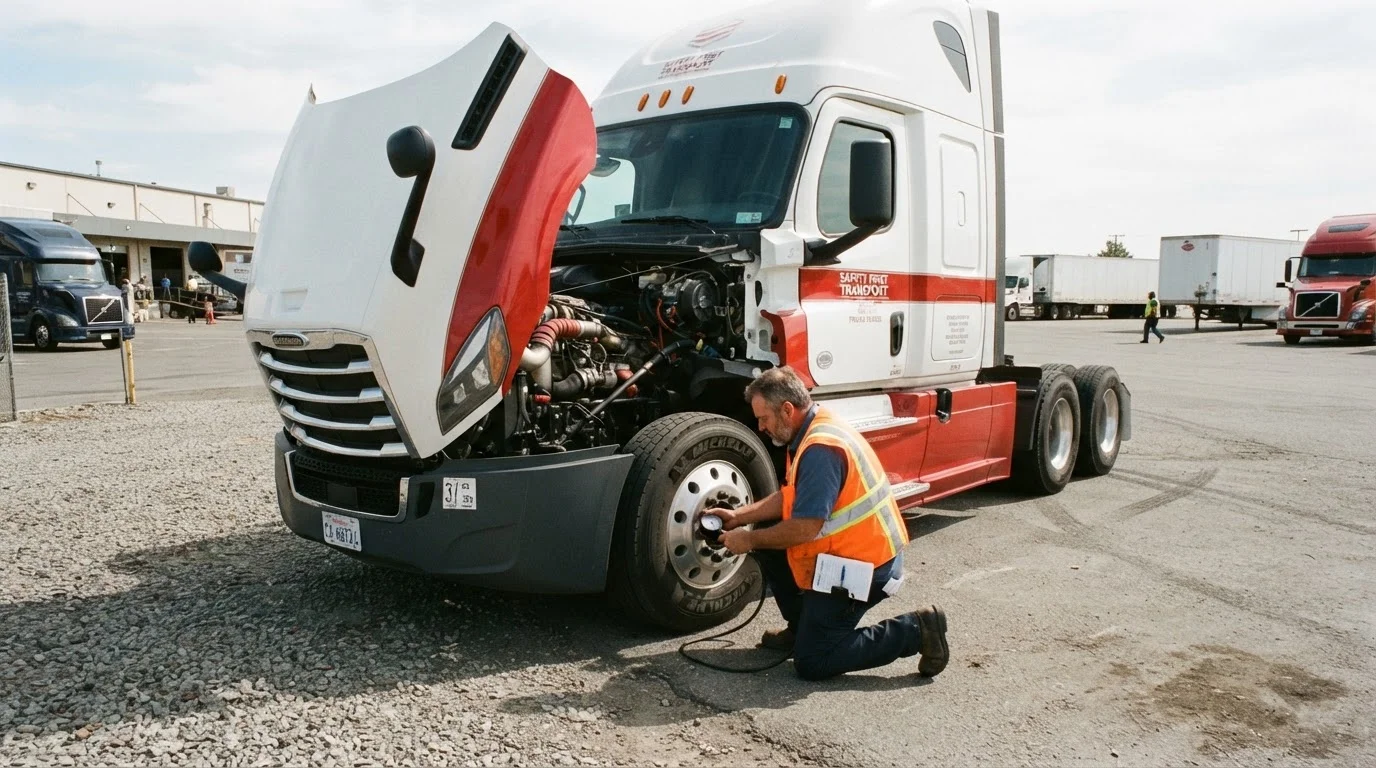
Tyre pressure gauge
Accurately measure tyre inflation in PSI to compare against the vehicle's specified pressure.
Tread depth gauge
Measure remaining tread depth on each tyre to verify it meets the safe minimum.
Flashlight or headlamp
Illuminate engine bay components, tyres, and undercarriage during pre-trip inspection.
Owner's manual
Reference correct fluid grades, pressure specifications, and warning light meanings specific to your vehicle.
Emergency roadside kit
Provide essential tools and safety items if a breakdown or incident occurs during the journey.
Phone charger or power bank
Keep your phone charged for navigation, emergency calls, and roadside assistance contact.
Tyres are the single highest-priority category, not because other items don't matter, but because tyre condition affects every aspect of vehicle safety — braking distance, handling in wet weather, and stability at highway speeds. The risks of worn or under-inflated tyres are covered in detail in our article on how tyre condition affects handling and braking.
Never open a hot radiator cap
Coolant systems operate under pressure. Opening the radiator cap while the engine is warm or hot can cause scalding fluid to spray out with significant force. Always wait until the engine has been off for at least 30 minutes before checking or topping up coolant directly at the radiator.
Don't ignore brake warning signs
A spongy or soft brake pedal, grinding noise when braking, or an illuminated brake warning light are all serious safety concerns that should be evaluated by a qualified mechanic before the vehicle is driven any distance. Do not defer these inspections for a long-distance trip.
The Full Pre-Trip Safety Checklist
Work through each group systematically. Items marked must are non-negotiable safety checks. Items marked should are strongly recommended for any trip over two hours. Items marked nice to have add a useful layer of preparation but are lower urgency.
Tyres
Fluids
Lights and Visibility
Under the Hood and Brakes
Emergency Kit and Documentation
Route and Driver Readiness
Driver Fatigue: The Check That Has Nothing to Do With Your Car
Vehicle condition is only half the equation. Fatigue impairs reaction time and judgement in ways that closely track the effects of alcohol impairment — yet it's often underestimated or ignored as a pre-trip variable. The US National Highway Traffic Safety Administration has consistently identified drowsy driving as a contributing factor in thousands of crashes annually.
Before any long drive, assess your own readiness as honestly as you assess your vehicle. If you've had less than six hours of sleep, consider delaying departure. If you'll be driving into hours when you'd normally be asleep, plan more frequent stops — the mid-afternoon period and the late-night hours carry the highest fatigue risk. Our article on recognising driver fatigue warning signs covers the specific symptoms to watch for and what to do when they appear.
Route planning is the other often-skipped step. Knowing where fuel stations and rest areas are located along your specific corridor removes decision pressure when you're tired or in unfamiliar territory. Check road conditions and any construction advisories for your route the evening before, not while you're already on the road.