

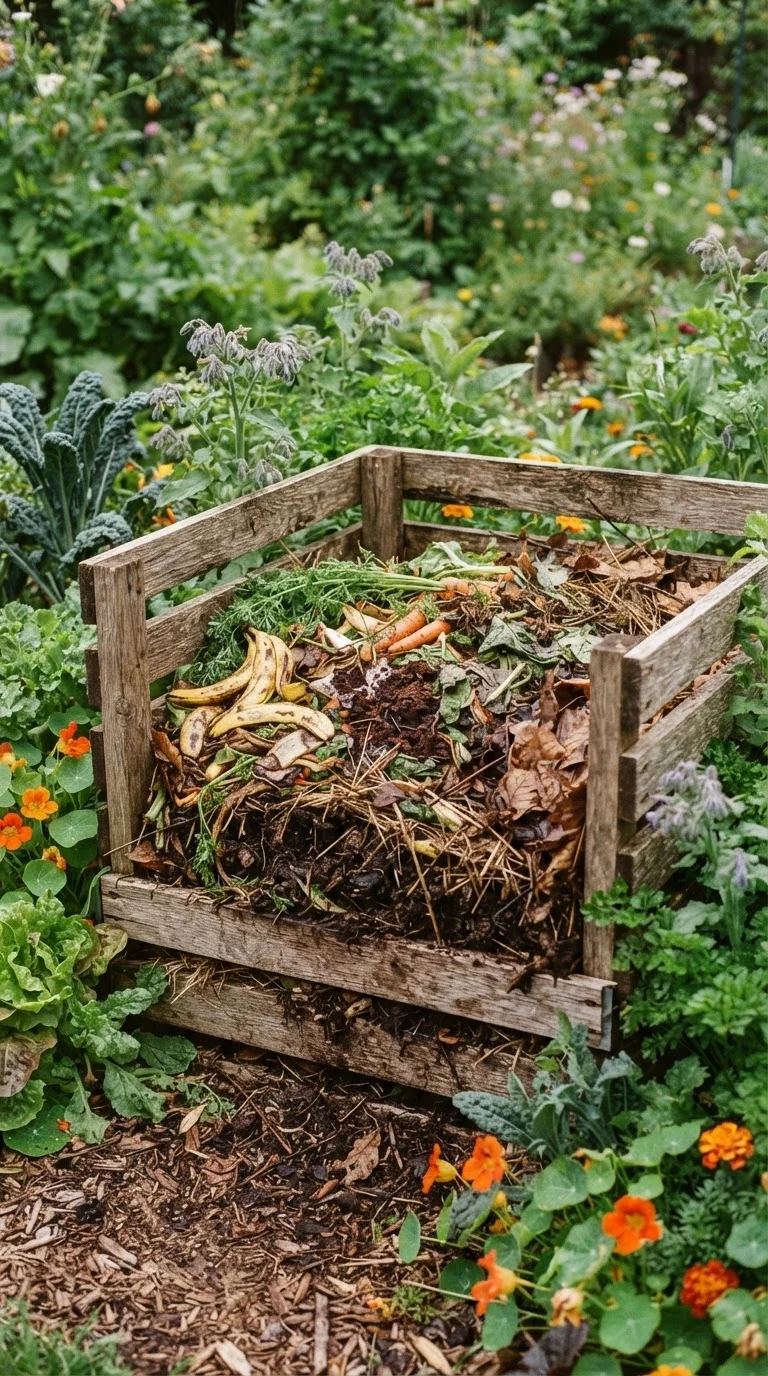
Key Takeaways
- Compost requires a balance of carbon-rich "browns" and nitrogen-rich "greens" to decompose efficiently.
- Finished compost improves soil structure, feeds beneficial microbes, and reduces the need for synthetic fertilizers.
- A compost pile needs regular moisture and occasional turning to stay active.
- Most kitchen and garden waste can be composted; meat, dairy, and diseased plants should be kept out.
- Compost can be ready to use in as little as two months with an active hot-composting approach.
What you will need
Why Composting Belongs in Every Home Garden
Composting is one of the most practical things a homeowner can do to close the loop between kitchen waste and garden health. Rather than sending vegetable peels, coffee grounds, and yard trimmings to a landfill, composting converts them into a dark, crumbly amendment that improves almost any soil type. Understanding what composting actually does — and why it works — helps you troubleshoot problems before they arise.
At its core, composting is a managed decomposition process driven by bacteria, fungi, and invertebrates. These organisms break down organic matter and release nutrients in forms plants can absorb. The result is humus (pronounced hyoo-mus), a stable organic material that improves drainage in clay soils, increases water retention in sandy soils, and feeds the microbial ecosystem that underpins plant health. For a deeper look at why that ecosystem matters, see our guide to soil health.
Even a modest compost setup in a corner of the yard can divert a significant portion of a household's organic waste from the trash and return it to the garden as a genuinely useful resource.
Start Small and Build Confidence
If the idea of managing a full compost pile feels daunting, start with just a single bin and kitchen scraps from one week. Composting is highly forgiving — most problems can be corrected simply by adjusting the moisture level or the balance of materials. Many gardeners find the process quickly becomes second nature.
What You Need to Get Started
Composting doesn't require specialized equipment, though the right setup makes the process easier to manage. At minimum, you need a designated space or container, a mix of organic materials, occasional water, and a turning tool.
What you will need
Compost bin or enclosure
Contains the pile, retains heat and moisture, and helps deter pests.
Garden fork or compost aerator
Used to turn and aerate the pile, which accelerates decomposition.
Compost thermometer
Measures internal pile temperature to confirm active hot composting and pathogen kill.
Half-inch mesh screen
Sifts finished compost to separate ready material from pieces that need more time.
Small countertop compost crock
Collects kitchen scraps conveniently before transferring them to the outdoor pile.
If you're starting a garden from scratch, setting up a compost system in your first season means you'll have homemade soil amendment ready by the time your beds need enriching.
Step-by-Step: Building and Maintaining Your Compost
Follow these steps to set up a functioning compost system and keep it active through all seasons. The process is more forgiving than most beginners expect — small adjustments along the way will correct most issues.
Choose a location and container
Select a spot that receives partial shade, sits on bare soil (not concrete), and is reasonably convenient to your kitchen door. A bin measuring roughly 3 feet × 3 feet × 3 feet is considered the minimum efficient size for generating heat. Options range from a simple open pile contained by wire mesh or wooden pallets to a purchased plastic bin with a lid — all work, though enclosed bins help deter wildlife.
Understand the browns-to-greens ratio
Compost needs both carbon-rich "brown" materials and nitrogen-rich "green" materials. A ratio of roughly 3 parts browns to 1 part greens by volume is a reliable starting point.
- Browns (carbon): dried leaves, cardboard torn into small pieces, straw, paper bags, wood chips
- Greens (nitrogen): vegetable and fruit scraps, coffee grounds with filters, fresh grass clippings, plant trimmings
Too many greens produces a slimy, odorous pile. Too many browns slows decomposition significantly. Adjust as you add materials.
Build your initial layers
Start with a 4–6 inch base layer of coarse browns (wood chips or straw) to allow airflow from the bottom. Add a layer of greens, then alternate with more browns, lightly moistening each layer as you go. The pile should feel like a wrung-out sponge — damp but not dripping.
Turn and monitor the pile regularly
Use a garden fork or compost aerator to turn the pile every one to two weeks, moving material from the outside edges toward the center where heat is most intense. A healthy active pile can reach internal temperatures between 130°F and 160°F — enough to kill most weed seeds and pathogens. Check moisture each time you turn: add water if the pile feels dry, add more browns if it feels soggy.
Recognize when compost is finished
Finished compost is dark brown, crumbly, and smells earthy — similar to forest floor. Most original materials should no longer be recognizable. Depending on your method and climate, this can take two months (active hot composting with frequent turning) to six or more months (a passive, low-maintenance pile). Screen finished compost through a half-inch mesh to remove any large uncomposted pieces and return those to the active pile.
Materials to Keep Out of Your Compost
Certain items should never go into a standard home compost pile: meat, fish, bones, dairy products, oily or heavily processed foods, diseased plants, and pet waste. These attract rodents, create foul odors, or introduce pathogens that a home pile may not reach temperatures high enough to destroy. Stick to plant-based kitchen waste and untreated yard trimmings for safe, effective composting.
Using Finished Compost in the Garden
Finished compost looks and smells like rich, dark earth — not like the original scraps. If it still has identifiable food pieces or a strong odor, it needs more time. Once ready, there are several effective ways to apply it.
- Soil amendment: Work 2–4 inches of compost into planting beds before sowing or transplanting. This is especially valuable if your native soil is heavy clay or very sandy.
- Top dressing: Spread a 1-inch layer around established plants and trees, keeping it a few inches back from stems to avoid rot.
- Potting mix component: Blend compost with garden soil and perlite (a lightweight volcanic mineral used to improve drainage) for container plantings.
- Lawn dressing: After aerating, rake a thin layer of finished compost across the lawn to feed grass roots and improve soil over time.
Compost is not a substitute for all fertilizers, but it does reduce dependence on synthetic inputs. It also supports the water-holding capacity that drought-tolerant gardening strategies rely on. For gardeners thinking about long-term outdoor planning, composting integrates naturally with the seasonal approach outlined in our outdoor space design guide.