

Key Takeaways
- Grout cracks that keep returning usually signal a structural or substrate problem beneath the tile surface.
- Applying new grout over old damaged grout without addressing the cause guarantees the problem will repeat.
- Movement joints and proper substrate preparation are among the most overlooked steps in tile installation.
- Some underlying issues — particularly structural movement or plumbing leaks — require professional assessment before repair.
Why Your Grout Repair Isn't Sticking
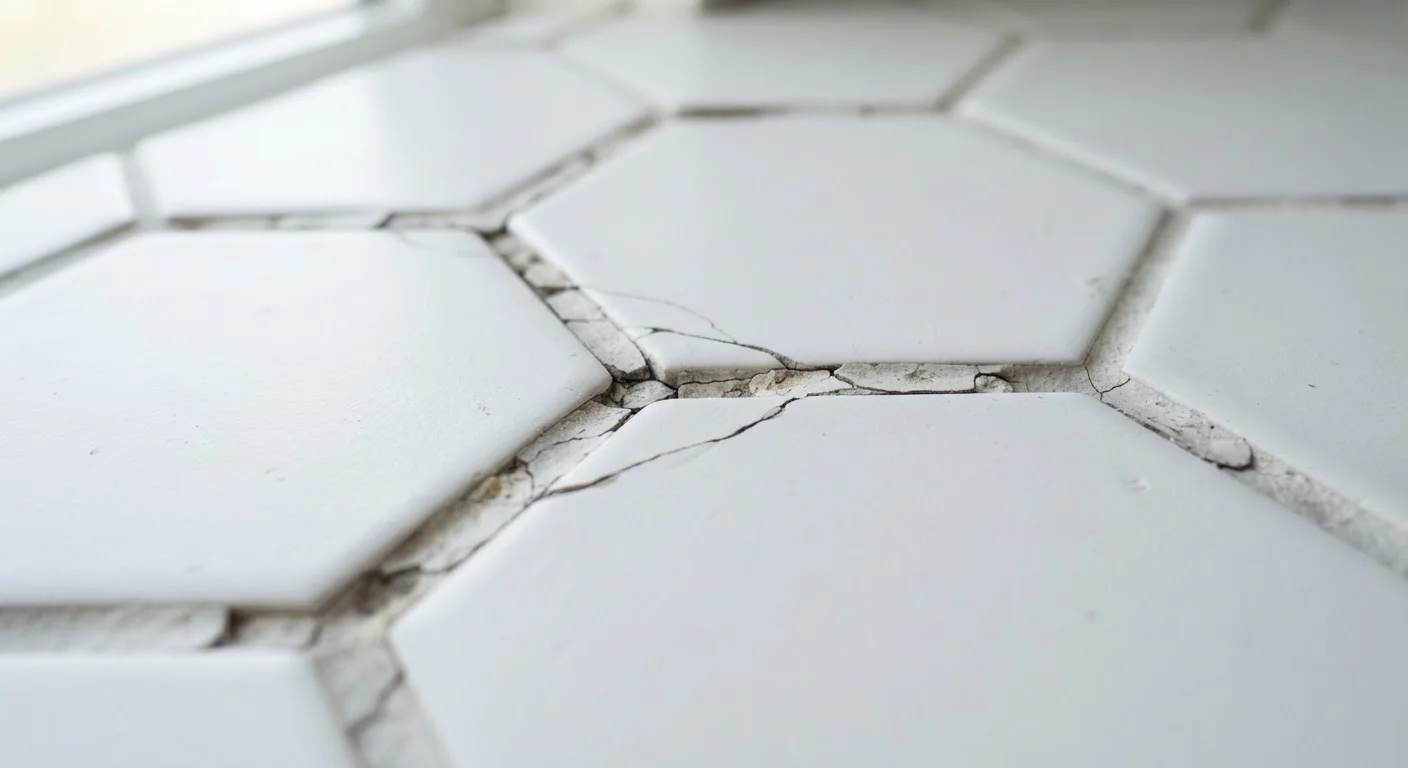
You've re-grouted the same section of tile twice in two years. The new grout looks great for a few months, then the cracks return — sometimes in the exact same spots. This cycle is one of the most frustrating experiences homeowners face with tile surfaces, and the fix is almost always misunderstood.
The core issue is that grout is a rigid, cement-based filler. It doesn't flex. When the surface beneath it moves — even slightly — grout is the first thing to give. That movement can come from a subfloor that bounces underfoot, a substrate that wasn't fully cured before tiling, seasonal expansion and contraction, or moisture that has worked its way under the tiles. Grout itself is not the problem. It's the messenger.
Successful, lasting repair depends on diagnosing what's actually causing the movement or stress — and correcting that before you ever open a bag of grout.
Grouting directly over old cracked grout without removing it first.
Why it happens: It looks like a quick fix, and removing grout feels unnecessarily labor-intensive when the damage seems minor.
Ignoring loose or hollow-sounding tiles before re-grouting.
Why it happens: Homeowners focus on the visible crack rather than testing whether the tiles themselves are still properly bonded.
Failing to identify and fix a moisture or plumbing source beneath the tile.
Why it happens: Water damage isn't always visible from the surface, so it's easy to assume grout wear is purely mechanical.
Omitting expansion joints where tile planes meet or where large areas are tiled.
Why it happens: Expansion joints require a separate flexible sealant and are often skipped for simplicity, especially in DIY projects.
Tiling over a subfloor that flexes or has insufficient rigidity.
Why it happens: Many older homes have subfloors that pass visual inspection but deflect enough under foot traffic to crack rigid grout over time.
Steps Toward a Repair That Actually Lasts
Once you've identified the underlying cause, a durable fix follows a logical sequence.
1. Remove All Damaged Grout Completely
Use a grout saw or oscillating multi-tool to cut out cracked grout to a depth of at least 2–3 mm. Never grout over existing cracked grout — the bond will fail quickly because the new material has nothing solid to adhere to.
2. Inspect the Tile and Substrate
Press each tile in the affected area. Any tile that shifts, rocks, or sounds hollow when tapped has lost its adhesive bond. Hollow tiles should be removed and re-set with fresh thin-set mortar before any grouting takes place. Skipping this step is the single most common reason repairs fail.
3. Confirm the Substrate Is Stable and Dry
If there's any sign of moisture intrusion — staining, efflorescence (white salt deposits), or soft drywall — address the water source first. Re-tiling over a damp substrate will cause adhesive failure within months.
4. Install Movement Joints Where Needed
In areas larger than roughly 8–10 feet in either direction, or wherever tile meets a wall, cabinet, or changes direction, standard grout should give way to a flexible sealant designed for tile joints. These expansion joints allow minor movement without cracking. They're required by industry standards (TCNA guidelines are widely referenced in the US) but are routinely skipped in amateur installations.
When to Call a Professional
If cracking is widespread, if tiles are lifting in multiple areas, or if you suspect the subfloor has been damaged by water, a professional tile setter or structural contractor should assess the situation before you invest in materials. Repairs made on top of a failing substrate will not hold. Similarly, any work involving water supply lines or drain modifications requires a licensed plumber.
5. Apply Fresh Grout Correctly
Mix grout to the manufacturer's specified consistency — typically the texture of peanut butter. Work it into joints at a diagonal angle using a float, then clean excess with a damp sponge in stages. Allow full cure time (usually 24–72 hours depending on the product) before exposing the surface to foot traffic or water.