

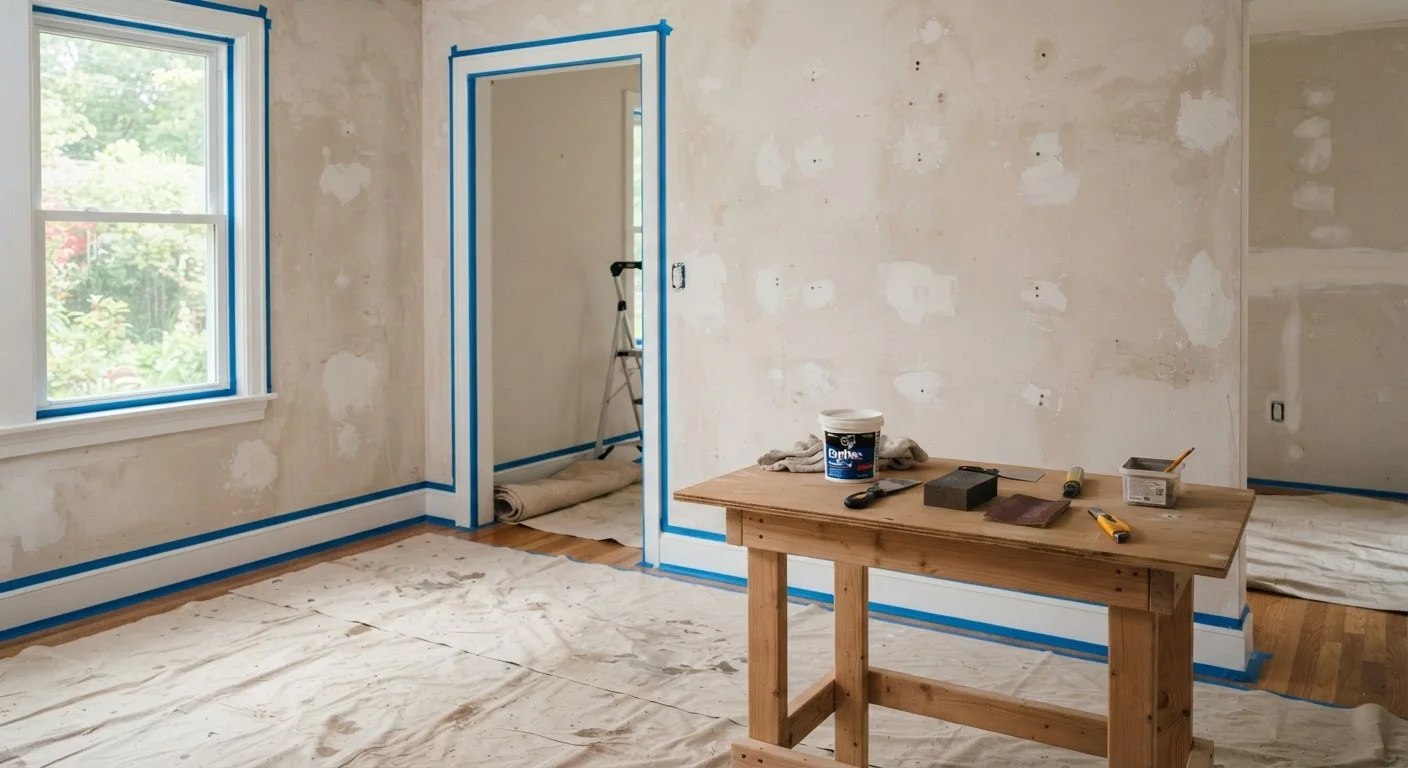
Key Takeaways
- Skipping surface repair and cleaning is the most common reason paint fails prematurely.
- Primer is not optional — it seals repairs, improves adhesion, and evens out sheen.
- Taping and protecting surfaces before painting prevents costly cleanup and touch-up work.
- Allowing adequate drying time between prep steps is just as important as the steps themselves.
- Proper lighting during prep reveals flaws that daylight and overhead fixtures easily hide.
Why Preparation Determines the Outcome
Most paint failures — peeling, uneven sheen, visible brush marks, bleed-through stains — trace back to skipped prep, not poor painting technique. Professional decorators typically spend twice as long preparing a room as they do painting it. That ratio surprises many homeowners, but it reflects a straightforward truth: paint is only as good as the surface beneath it.
If you're approaching your first major interior project, the foundational guidance for new renovators is a useful starting point before diving into the specifics below.
Inspect walls under raking light before touching anything else
Standard overhead lighting flattens surface imperfections, making cracks, nail pops, and uneven patches nearly invisible until paint reveals them. Raking light — a work lamp held at a low angle parallel to the wall — casts shadows that expose every flaw. Fixing problems you can see is far easier than fixing them after paint has been applied.
Clean walls thoroughly with a degreasing solution
Grease, dust, and residue from cooking or everyday contact create a barrier between the paint and the wall surface. Paint applied over these contaminants won't bond properly, leading to peeling or an uneven finish that becomes apparent within months. This step is especially critical in kitchens, bathrooms, and high-traffic hallways.
Fill and sand all holes, cracks, and imperfections in stages
Most spackling compounds shrink slightly as they cure. Filling a hole once and painting over it without a second check frequently results in a dimple that shows through the finished coat. Sanding between fill applications feathers the repair into the surrounding surface so it disappears under paint rather than becoming more visible.
Prime every repaired area and bare surface before applying finish paint
Unprimed repairs absorb paint differently than the surrounding wall, creating dull, flat spots — known as 'flashing' — in an otherwise consistent finish. Primer seals the repair, equalizes porosity, and improves adhesion so the finish coat lies uniformly. Skipping primer on repairs is one of the most common reasons a single-coat paint job looks patchy.
Mask trim, outlets, and adjacent surfaces with precision tape
Rushing the masking stage or using the wrong type of tape leads to paint bleeding under the edge, producing a ragged line that undermines an otherwise clean job. Pressing tape firmly along its full length — especially at corners — takes time but makes the difference between a crisp, professional edge and one that needs repainting.
Allow full cure time between every prep stage before painting
Drying time and cure time are not the same. Filler or primer may feel dry to the touch within an hour but won't have fully cured and hardened. Applying the next layer too soon traps moisture, which can cause adhesion failure, bubbling, or a finish that remains soft and easily damaged.
The Preparation Steps Professionals Don't Skip
Each of the following practices addresses a specific failure point. Work through them in order — they build on each other.
Use the Right Grit for Each Sanding Stage
Start with 120-grit sandpaper to knock down high spots and feather repair edges, then finish with 220-grit for a smooth surface that won't show sanding scratches under paint sheen. Coarser grits remove material faster but leave marks that gloss and semi-gloss paints will amplify. Always wipe sanded surfaces with a lightly damp cloth or tack cloth before priming to remove all dust.
Quick Actions to Take Before Your Next Paint Project
Some of the highest-impact preparation steps take less than 30 minutes but are routinely overlooked. Completing these before anything else sets a solid foundation for everything that follows.
Keeping your workspace organized during prep also pays off in the painting phase. Many of the habits that reduce chaos in a cluttered room — working systematically, finishing one zone before moving to the next — apply equally here. See how those principles translate to other areas of the home in our room-by-room organization walkthrough.